Navigation: Manage Emails > Manage Emails Overview >
Notification Emails


|
Navigation: Manage Emails > Manage Emails Overview > Notification Emails |
|
This section is used for editing email templates in notification email type.
For Editing Email Template in Notification Email Type, follow the steps:
1. Click Notification Emails, as shown in the Figure 4-5-1 below.
Figure 4-5-1: Notification Emails
2. The Notification Emails page will open, as shown in the Figure 4-5-2 below.
Note: You can also directly open the Notification Emails page, by clicking on the Notification Emails link in the Admin Area Home page.
Click Edit default emails Top and Bottom link on the top of the Notification Emails page to open Top and Bottom Email Templates page. To know more about this page, go to Default Email Top and Bottom section.
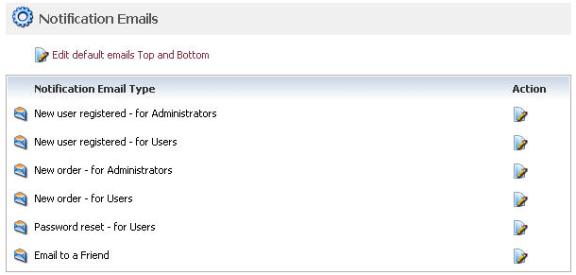
Figure 4-5-2: Notification Email Type
3. Click Edit Email Template ![]() icon, for the Notification Email Type you want to modify.
icon, for the Notification Email Type you want to modify.
The Edit Email Notification page for that email type will open, as shown in the Figure 4-5-3 below.
4. Click on the respective boxes (HTML and TEXT) to edit the template for that email type.
Note: Click Edit Top and Bottom Email Templates link on the top of the Edit Email Notification page to open Top and Bottom Email Templates page. To know more about this page, go to Default Email Top and Bottom section.
Figure 4-5-3: Edit Email Notification
5. Further, you can create an eye-catching template for HTML email type, by clicking Edit HTML Online, as shown in the Figure 4-5-4 below.
Figure 4-5-4: Online HTML Editor
6. If you want to cancel or start again, click on the Reset form button.
7. Click Save changes button to save email template for the email type. You can view the confirmation message on top of the Edit Email Notification page, as shown in the Figure 4-5-5 below.
Figure 4-5-5: Saved Confirmation
8. Click OK.